If I can figure out a way to do that, I will. The trigger bar will cover up the slot that it goes into and can't be seen from the other side.Originally Posted by DAB


If I can figure out a way to do that, I will. The trigger bar will cover up the slot that it goes into and can't be seen from the other side.
Here is a picture of the slot between the hammer's 3rd and 4th pointers. The other pointer (on the right) shows the lower sear contact point for the trigger bar.
Attachment 23435
Last edited by PX4 Storm Tracker; 01-31-2018 at 01:07 AM.
Here we see the double action hook of the hammer past its pivot point, getting out of the way.
Attachment 23438
Top pointer is the sear waiting to be bumped by the trigger bar. Middle left pointer is the double action hook. Bottom right is where the hammer will pull the trigger back.
Notice (in the hammer picture) that the half-cock notch is not as well groomed as the full-cock notch. It is not made for easy release of the sear. Therefore, it is not good for your sear to use your decock/safety levers to drop the hammer from half-cock. Run the hammer back to full cock, then drop the hammer with your levers, if need be.
Last edited by PX4 Storm Tracker; 01-31-2018 at 09:06 AM.

Think you could do this with a Beretta 92 as well ? Please
Founder Of Keepers Concealment and Lead trainer. Affiliate of CCW Safe, Use discount code ( KC10off )Sign up here https://ccwsafe.com/ref/B65241653
Prdator, I would sure be willing, but not very able.
Since parts are similar, I could extrapolate or "guess". It would be settling for a lesser product. There are other highly qualified model 92 users, none probably more qualified than @LangdonTactical , but I know he is very busy. I would feel guilty making work for him. However, he might already have a resource.
Let's poke around and see if anyone can help us here. If not, there is an expression- "En la ciudad de ciegos, el tuerto es rey" (in the city of blind folks, the one-eye is king)... I could try to do a comparative anatomy with the M-92!
Last edited by PX4 Storm Tracker; 01-31-2018 at 01:43 PM.
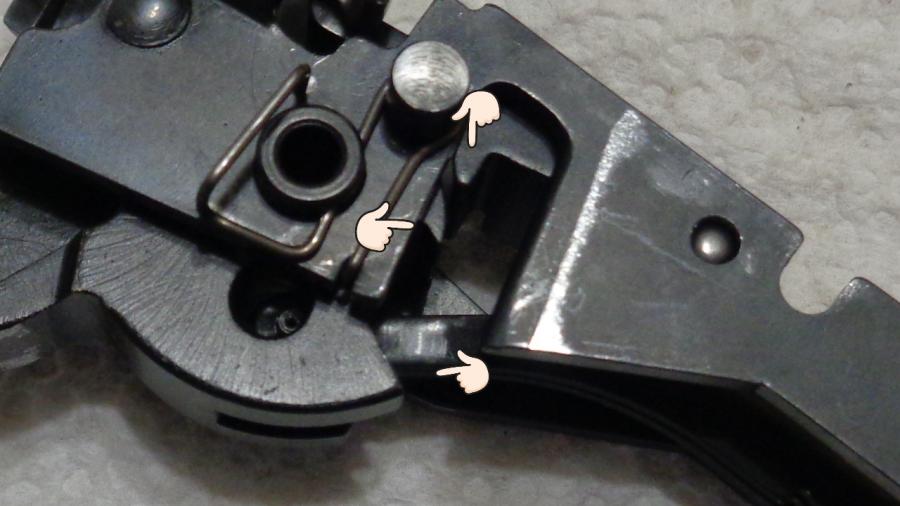
This is the sear from a PX4 Storm
There are 6 working spots I want to point out.
Left to right –>
1- hole for drift pin that it pivots on that attaches it to the hammer unit body & retention of spring coil
2- upper retention spot for the sear spring
3- tucked away spot for the trigger bar when in its deactivated position
4- where the trigger bar cog contacts it to fire the pistol (SA or DA)
5- hammer cocking sear, catches hammer at half or full cock (precautionary note coming below)
6- hammer drop lever access point, when you use your decocker/safety, this drops the hammer without using the trigger
Precautionary note:
#5- This is the sear contact point that many try to modify to make the single action trigger pull better.
There are some that would like to make the pistol have a SA pull like a S&W revolver or Colt Python. Metal is metal, you might think. However, there is one big caveat (warning):
When thumb cocking a revolver you bring it back and let go. You would not slam the hammer back, slip off the spur and let it slingshot forward onto the sear. No, you’d think that abusive to the highly honed edge of your sear. Correct!
In a semi-auto pistol, that is exactly what happens. The slide throws it back fast and hard and then slams forward, leaving the hammer to fall and be caught by the sear edge. A pistol has to have a tougher sear engagement.
So... if you want your trigger improved by honing, polishing or modifying... let an expert who is qualified (like Langdon Tactical) do it for you.
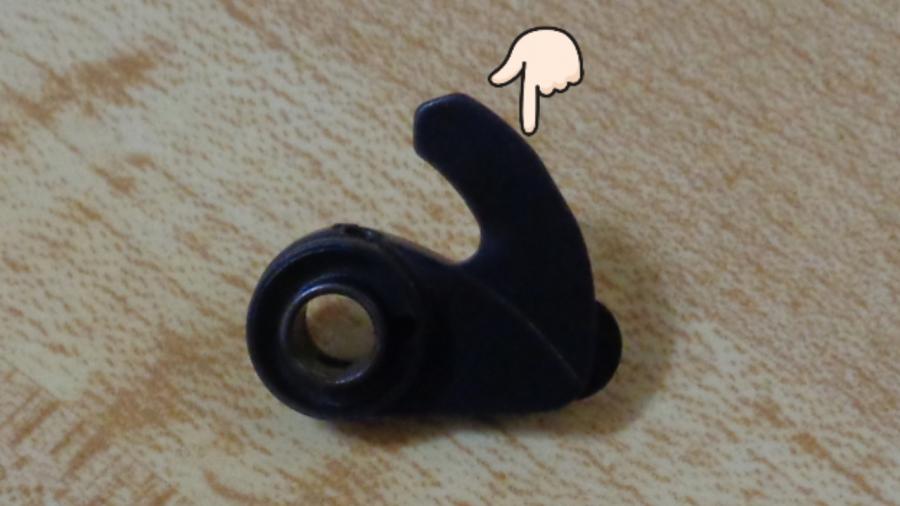
This is the sear in place with the spring’s connection points shown


The 92 firing mechanism is almost identical to the PX4. So much so that the hammers are interchangeable and only one small difference between the sears that I can see. The systems work the same way exactly, but it is much easier to see in the PX4 chassis system that is shown in these pictures. Many of these details would not be visible in the 92 because the frame would be in the way.
www.langdontactical.com
Bellator,Doctus,Armatus
Part 1- What makes the trigger bar go up & down? What makes the clicking noise when your trigger resets?
In this picture the center pointer shows a curved out area. This creates a spot where the trigger bar can be up in its activated position. This curve only aligns with it when the slide is fully forward.
The left pointer shows a cut out where the blade of your right safety/decocker lever fills that area (taking away the activation position) when your levers, type F or G (except the stealth levers) are down. That’s why you have a dead trigger (moves, but does nothing) when your safety is on.
The right pointer shows the wear mark from when the slide goes back. It closes the curve and pushes the trigger bar down.
So, the slide moving back or the safety being engaged push the trigger bar down.
Part 2- What makes the trigger bar go up & down? What makes the clicking noise when your trigger resets?
Trigger bar up
Trigger bar down


 Reply With Quote