long, long ago i took a course on this very topic, heat treating, but having not applied that knowledge over time, i have forgotten the details. thankfully, the web can fill in some holes.
as the link shows, you have to get really hot to affect prior heat treatment of carbon and alloy steel. about 1400F and up (if you don't want to follow the link), and about 250-400F before you will start to screw up the tempering state of steel.
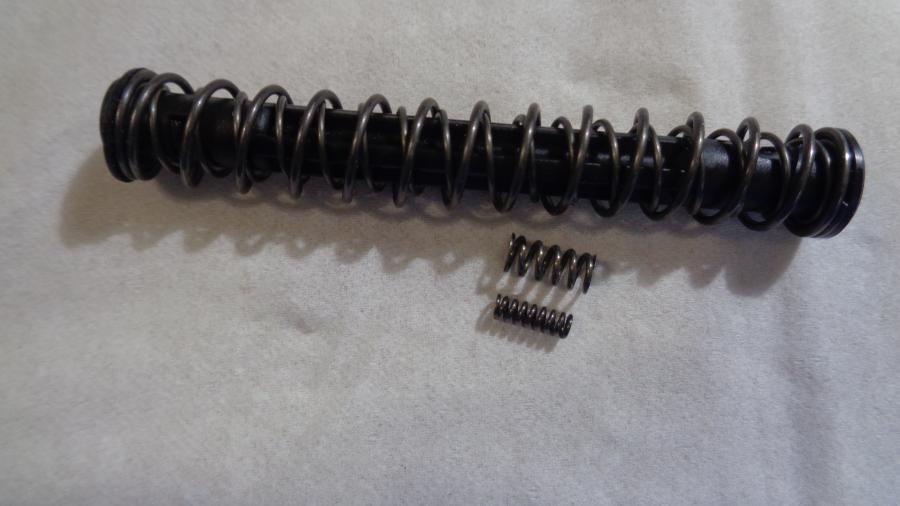
so, as noted above, keep it cool (to the touch), take your time. if it cannot be held by bare fingers, let it cool off and then try again with less aggressive methods.
then again, give the factory engineers some credit, just clean it and shoot it.
https://www.engineersedge.com/materi...ents_13249.htm


 Reply With Quote


